Knowledge Base Categories |
Category: ConfigurationHow to record video to external hard drives?IP Camera Recorder can record video from IP Cameras to external hard drives: USB drives, network drives and etc. There are multiple ways to setup your external hard drives. Check the instructions that came with the drive for details. The basic setup is following.
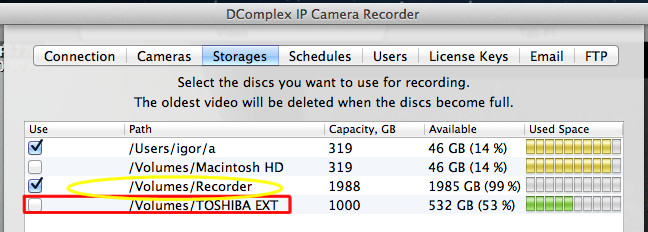
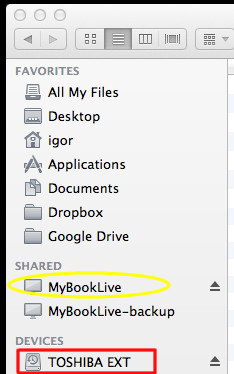
Now, launch the IP Camera Recorder app, select the Recorder in the Cameras sidebar and click EDIT button to see the list of Storages. Select the drive. Now the Recorder will record video to the drive. The name of the drive will match the name you see in ther Finder app. See the red rectangle below.
If you have network drives, rather than USB drives, the setup is a little different. Again, see the instructions that camera with the drive for details. Basically, the setup is following.

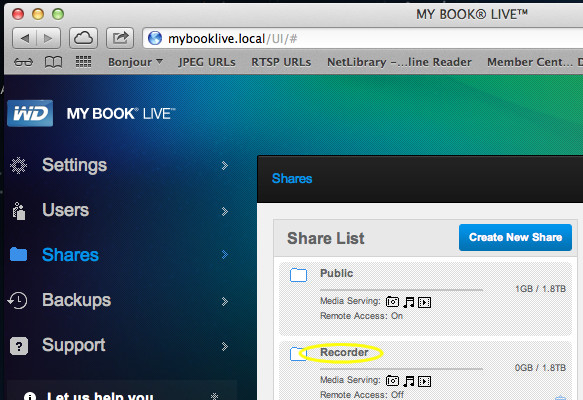
See the created Share in the yellow ellipse.
Now, go back to the Finder app and make sure you see the Share with the same name in the Finder's SHARED section. See the first screenshot above, yellow ellipse.
To use the drive for recording in the Recorder, open the IP Camera Recorder app. Select the Recorder in the Cameras sidebar. Click the EDIT button and select the drives in the Storages tab as needed. See the yellow ellipse below.

|

