Knowledge Base Categories |
Category: Initial SetupHow to setup IP Camera Recorder on Mac?Make sure you have Mac OS X 10.12 or later. Download the latest version of IP Camera Recorder from DComplex Store. 1. Select the "IP Camera Recorder for Mac" item and follow the Installer's instructions. 2. After installation, find DComplex IP Camera Recorder app on your desktop and launch it. (Or you can also find the app in Applications folder or Launchpad):
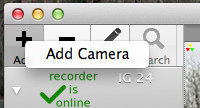
3. Once you launch the app, it will search for the DComplex IP Camera Recorders on your Mac. You new recorder will be automatically detected and added into the Cameras sidebar. The app will prompt you to add a camera. Later, when you need to add a camera click the "+" button and select Add Camera menu.
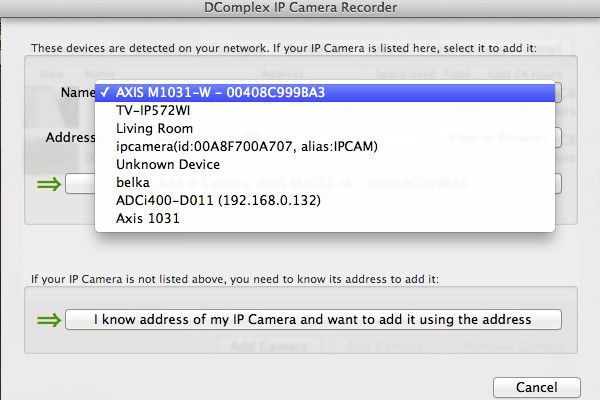
4. The Recorder can detect some cameras on your network. You will see the list of detected cameras on the next screen. If your camera is not detected, select the button: "I know address of my camera..." when you see the Add Camera window:
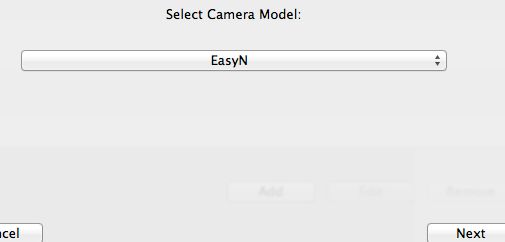
5. Select model of your camera:
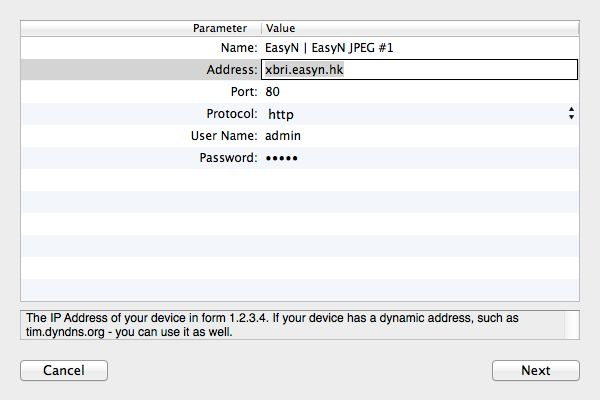
6. Enter Address and Port of your camera. Make sure that you can connect to the camera using the address and port in the Safari app. For most cameras, you will also need to enter username and a password. The default username and password are usualy printed on the back of the camera or in camera User Manual.
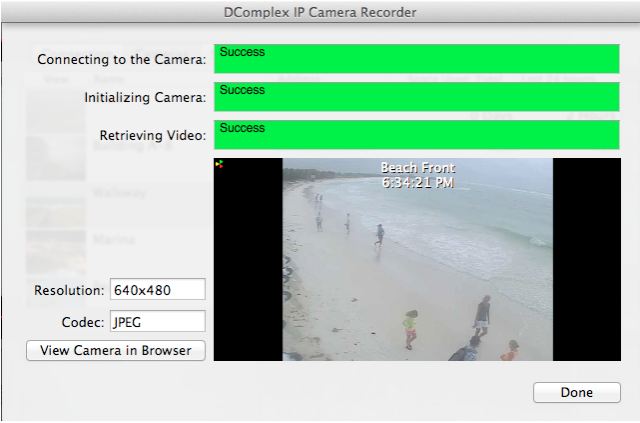
7. Click the Next button. The camera 's connection status window will open.
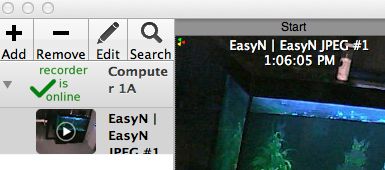
8. Close the Configuration window and see your camera in the app.
Keep adding the cameras usign the + (Add) menu. To edit a camera, select the Edit menu. To search for recorded video, click the Search menu. Enjoy! |


